UPDATE : You need to use Qfil (Guide link) for Zuk Z2 Pro, click “load content” and choose “contents.xml” from Qfil rom folder. Before that don’t forget to change “device type” to UFS from EMMC in “Firehose Download configuration” under Configuration menu.
It’s been almost 1.5 years after i discovered using different Qualcomm flashers across diffrent makers/models. I tried to explain all about “Qualcomm HS-USB QDLoader 9008″ port, about Qualcomm’s own flasher “Qfil” and how to solve this so called “black bricks” if you can find a proper rom for your model. You can read my articles if you want to learn more about “unbricking” your Qualcomm Snapdragons.
Ultimate Qualcomm Snapdragon Unbrick Guide, Snapdragon’s are UNBRICKABLE
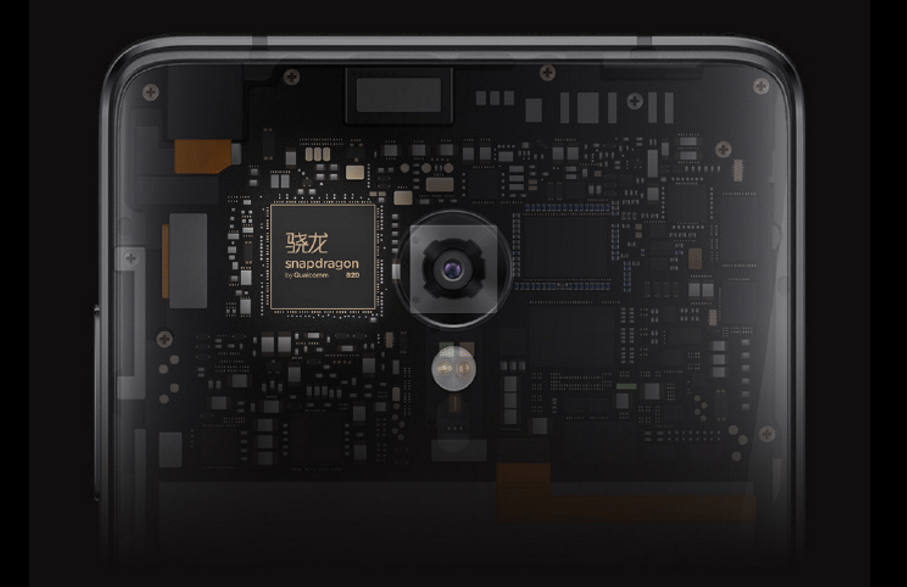
Today’s headline is the newcomer, Lenovo’s sub brand ZUK Z2 series. Amazing value for price, almost the cheapest Snapdragon 820 based smartphones and therefore already have many fans/forums around the world. I myself always used Qfil flash programmer when it was about unbricking a Qualcomm based Lenovo/ZUK. But after Snapdragon 820 things changed a little, in the name of programmer files and extensions. Until Snapdragon 810, for 64 Bit chips, we had “mbn” file extansion as our “firehose programmers”, for example “prog_emmc_firehose_8994_ddr.mbn” or “prog_emmc_firehose_8994_lite.mbn” inside our Qfil rom packages. And Qfil was the only flasher that is supporting this firehose protocol till now. After 820’s Qualcomm made differences both in file system and naturaly to our “service files”. Mbn’s became “elf’s”, not the nation from middle-earth 🙂 Taken from wiki : “In computing, the Executable and Linkable Format (ELF, formerly called Extensible Linking Format) is a common standard file format for executables, object code, shared libraries, and core dumps.” Examples from ZUK Z2’s Qfil rom folder : “prog_emmc_firehose_8996_ddr.elf” and “prog_emmc_firehose_8996_lite.elf“.
I read that some users are having difficulties flashing their Snapdragon 820 Zuk’s with Qfil, can be because of the version of Qfil, can be driver related or something else. Today i will show you a more easy way to flash any *.elf programmer to any Qualcomm 820 based smartphone, with right kind of rom of course. We will use our most case saviour Xiaomi’s latest “MiFlash” Qualcomm programmer, this version came out right after Xiaomi’s Snapdragon 820 based phone Mi5 and supporting elf programmers and is very easy to use in most cases.
Download MiFlash 32 & 64bit New Version
Before we start, we need to put our Windows operating system into “Test Mode“, so we dont have to deal with any driver install issues in between our work, to do this just :
Press Start->Search->cmd then right-click on it and click Run as administrator. In the CMD window type or copy this “Bcdedit.exe -set TESTSIGNING ON” and press enter. Restart PC.
After your work with unbricking is done, if you want to get out of this test mode, detailed instructions are here : Windows Test Mode .
Before we begin, let me remind you, this method will wipe your phone completely and bring it to “out of box” factory mode. So backing up your important data is a must! If your phone is already bricked and can’t power on or is stuck at logo, there is not much to do for your data.
STEP 1:
First, we need to install adb on our computers, and for that, we will use a program called “adb setup“, thanks to Snoop05 from XDA-Developers, this will enable adb and fastboot commands to work on our systems. It will also install necessary adb drivers. There are many ways to do that but what is more important about Snoop05’s solution is that we can use adb and fastboot commands system-wide, this means our old “command prompt” will turn to accept this commands, and no need to work in the “adb” folder like we used to before. Then install Lenovo and ZUK phone Windows USB drivers + Qualcomm Diag port drivers on your system.
STEP 2:
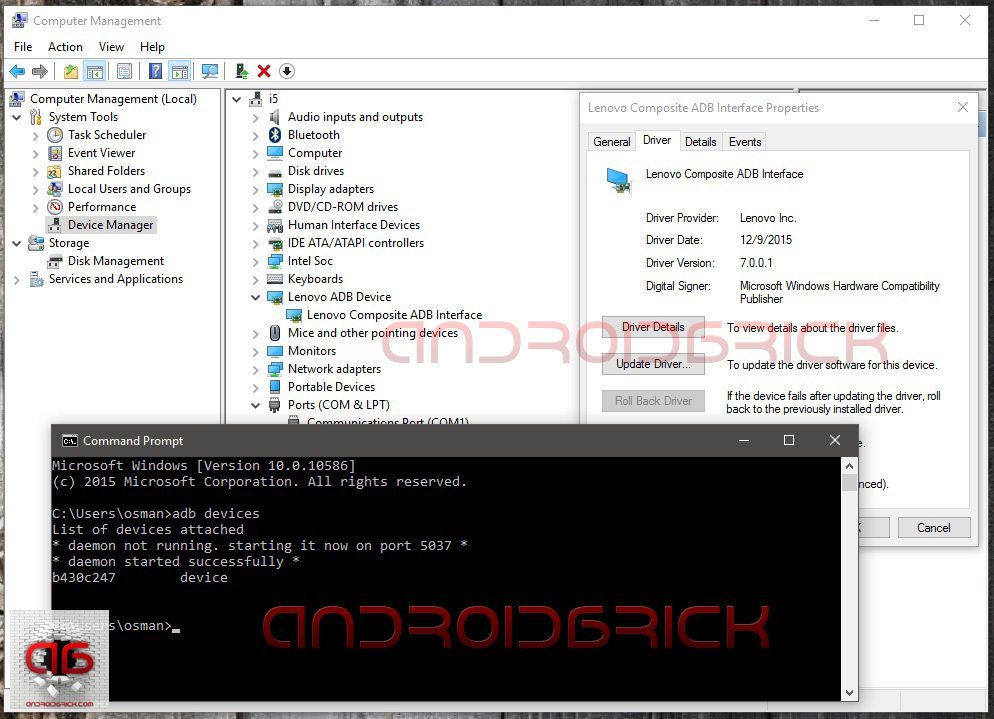
On Lenovo/ZUK phones to enable USB debugging, click “USB debugging (ADB)” under “USB computer connection” from the pop-up window when you plug the USB cable. On ZUK Z1, if Cyanogen Rom is installed, go to settings> about phone, and click “Build number”couple of times till you see “you are a developer“ message. Then back to settings>Developer opitons>USB debugging, click it and allow. Your system will install necessary”adb” drivers. Now open command prompt and type :
“adb devices“
Look at your phone for the “Allow USB debugging?“ message, select “Always allow from this computer“ and click OK. If you forget to allow from phone, the command will return“unauthorized“, if OK you will see your phone as “device“ .
STEP 3:
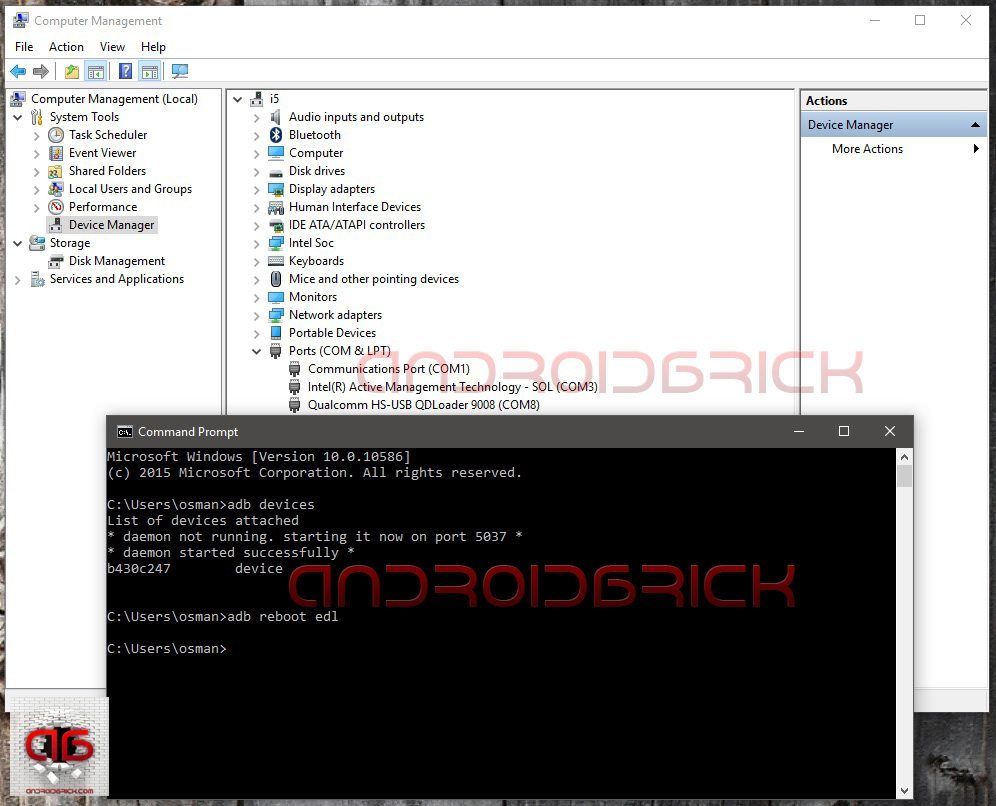
Now it’s time to open our so called Qualcomm HS-USB Qdloader 9008 service port to work with. If your phone is in working condition, we will use an adb command from command prompt :
“adb reboot edl”
If your phone is bricked / can’t boot up / stuck at logo / restarting itself continuously, then we will use the key combination to open our Qualcomm HS-USB Qdloader 9008 service port. That key combination depends on the ROM that you had on your phone before it’s bricked.
If you were on Lollipop : Phone must be completely off. Pressing “Volume Up” key plug the USB cable in WITHOUT PRESSING POWER BUTTON ! Port will open.
If you were on Marshmallow : Phone must be completely off. Plug the USB cable in and immediately press Power On button. Port will open.
STEP 4:
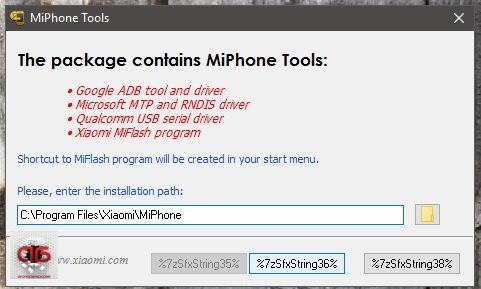
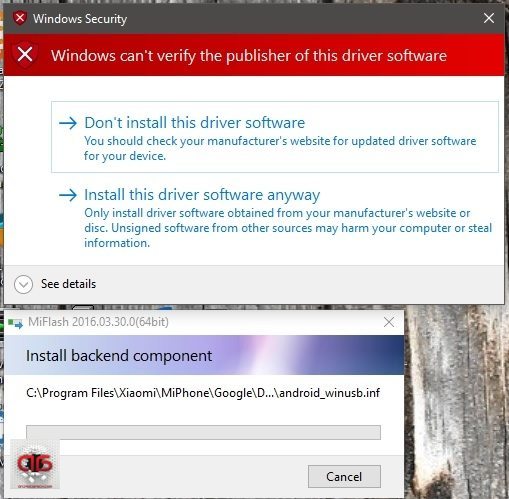
Now setup Miflash that you downloaded, Miflash will install necessary “Qulacomm” drivers to your system , so dont forget choose “Install this driver software anyway” option when it asks, twice, and after it finishes you will see a new port named Qualcomm HS-USB Qdloader 9008 in your device manager too. The driver path will be “C:\Program Files (x86)\Xiaomi\MiPhone\Qualcomm\Driver”, in case you want/need to install your drivers again.
STEP 5:
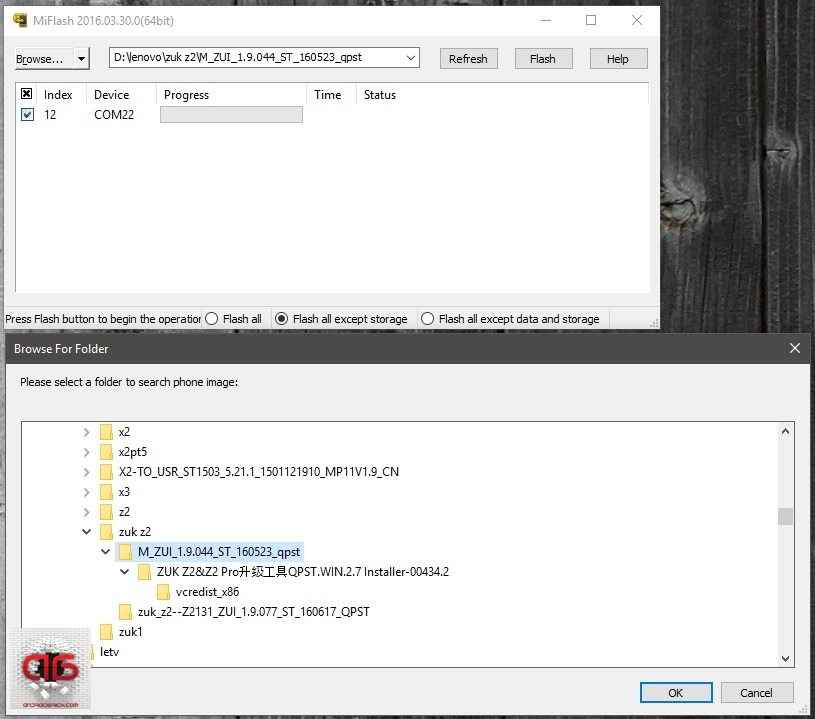
Open MiFlash, click “refresh” button and you’ll see your Qualcomm 9008/EDL port there. Then click “Browse” and choose your downloaded rom folder please (unzip it before you that). It will look like this for ZUK Z2 rom folder :
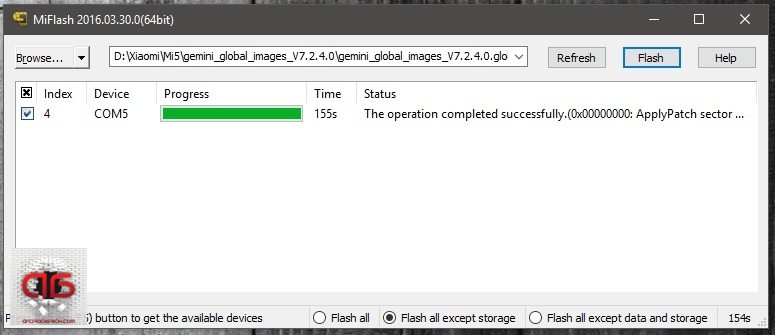
When you are ready click “flash” button. In about 2-3 minutes the flashing will finish, unplug the usb cable and press power button long enough to power on your ZUK Z2. Thats it. Your ZUK has been saved or flashed with a stock factory rom.
Some of the paragraphs of this article are taken from my Xiaomi and Lenovo unbricking + flashing guides, so dont get confused becouse of some pictures here. If you need to look at them :
Xiaomi Mi5, How To Flash Global Multilanguage Rom + Unbrick Guide
Lenovo / ZUK Phones ; Qfil Roms + UNBRICK Guide
Copyright © 2016 by androidbrick.com. All rights reserved.


