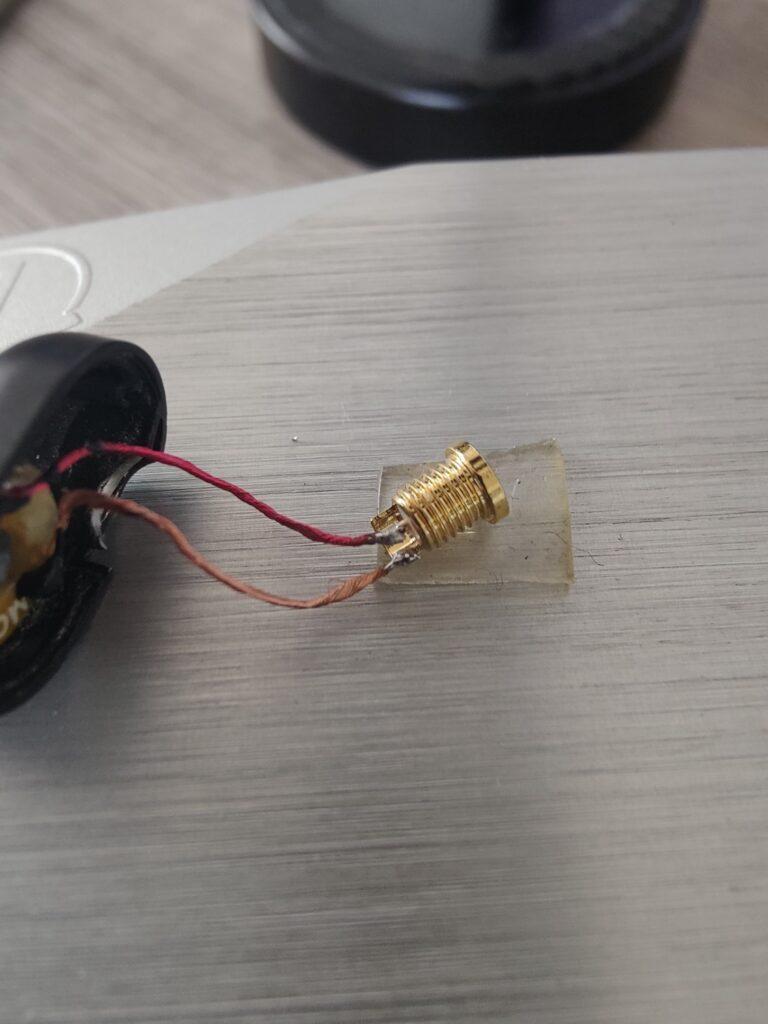
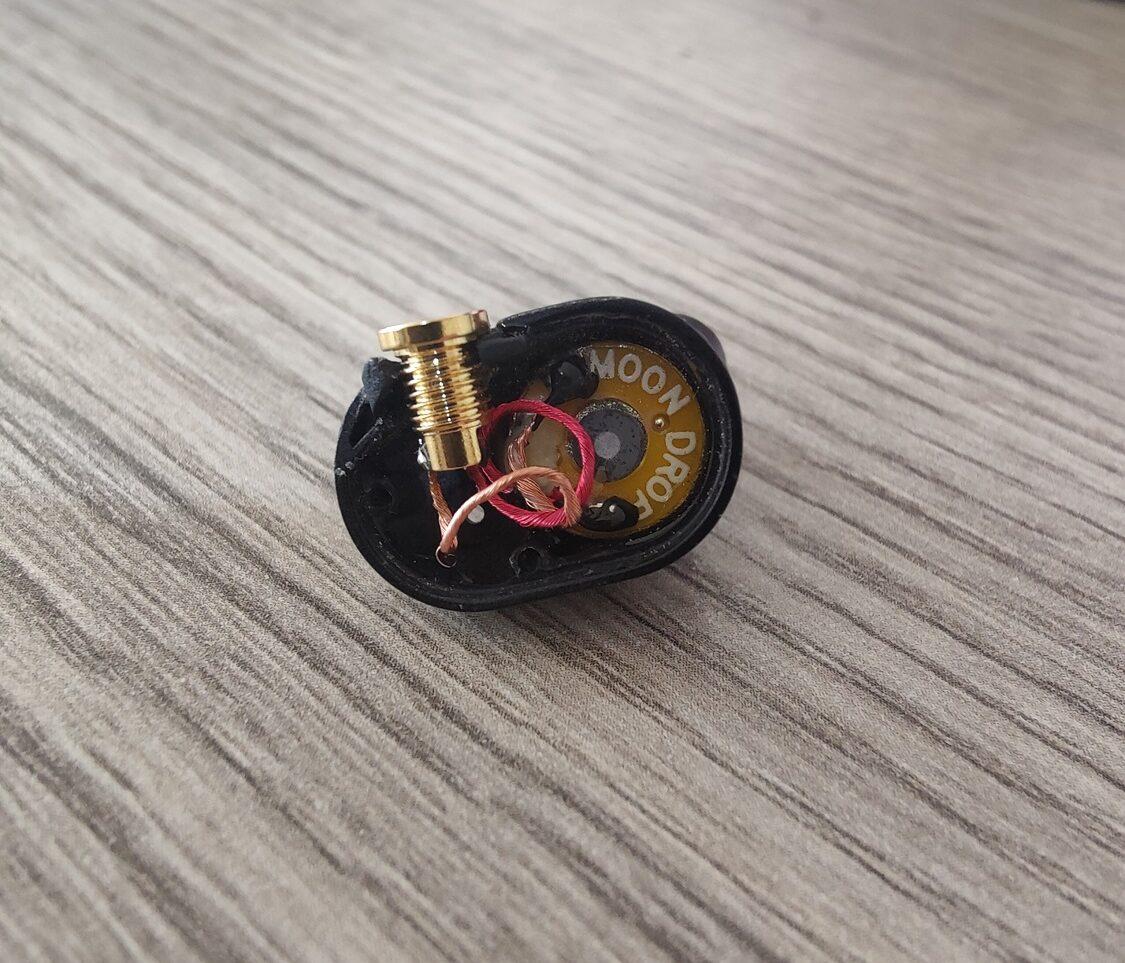
The idea came to my mind when I first saw the Moondrop Chu. I was already thinking of modding my old IEMs and bought some parts like mmcx connectors, a USB soldering iron and a torch for using as a heat gun. And after reviewing the Chu and liking it I decided to start modding with it.
Here is how I did it.
Disclaimer, like I said this is my first modding attempt so also my first soldering experience of the connectors etc, so it’s a highly amateur job 🙂
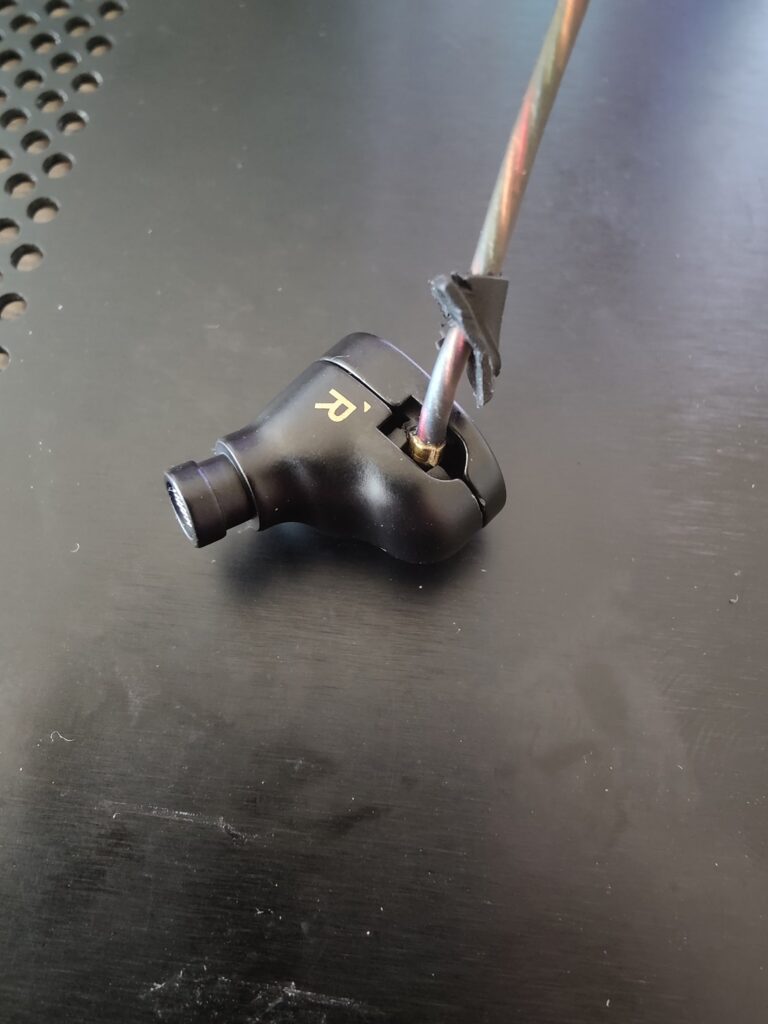
- First I removed the silicone cable holder with my hand, it comes out pretty easy.
- I heated the front of the Chu for about 4-5 seconds with the torch (from about 5cm distance) till it gets barely hot to touch.
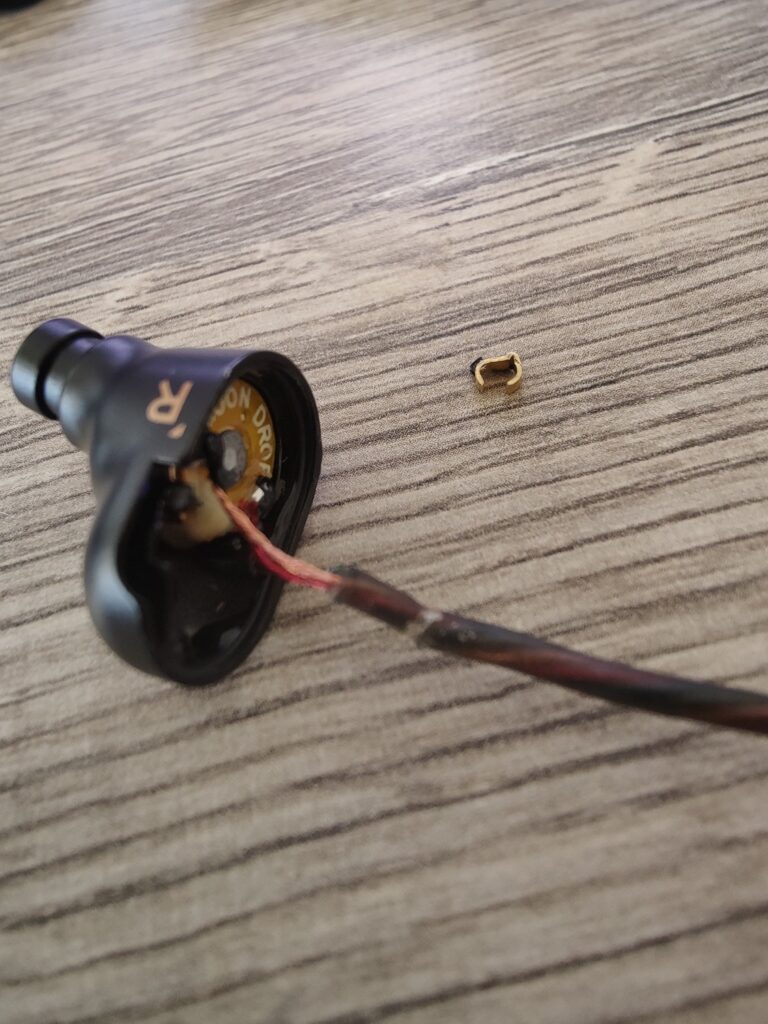
- I used a tool with a sharp tip on the point with the “R” sign and slightly forced the faceplate to the opposite side, no worries it opens rather easily. To be honest I was expecting a stronger glue but it was not the case.
- I removed the tiny ring, which is supposed to hold the silicone cable holder, sticking a tweezer and pushing further.
- After cutting the stock cable away I started to work with the Dremel (rotary tool) to make a hole big enough to place the mmcx connector in.
- The faceplate also needed to be shaved for a proper fit.
- I prepared two pieces from the silicone cable holder cutting the front and back of it.
- I soldered the mmcx connector.
- I glued two silicone parts to their places.
- I glued the mmcx connector on both sides of the shell and to two silicone holders. I used B-7000 multi-purpose adhesive glue.
- As the last step, I glued the faceplate and closed the shell.
- I heated again a couple of seconds with the torch and applied pressure until being sure the faceplate got a tight and gapless fit.
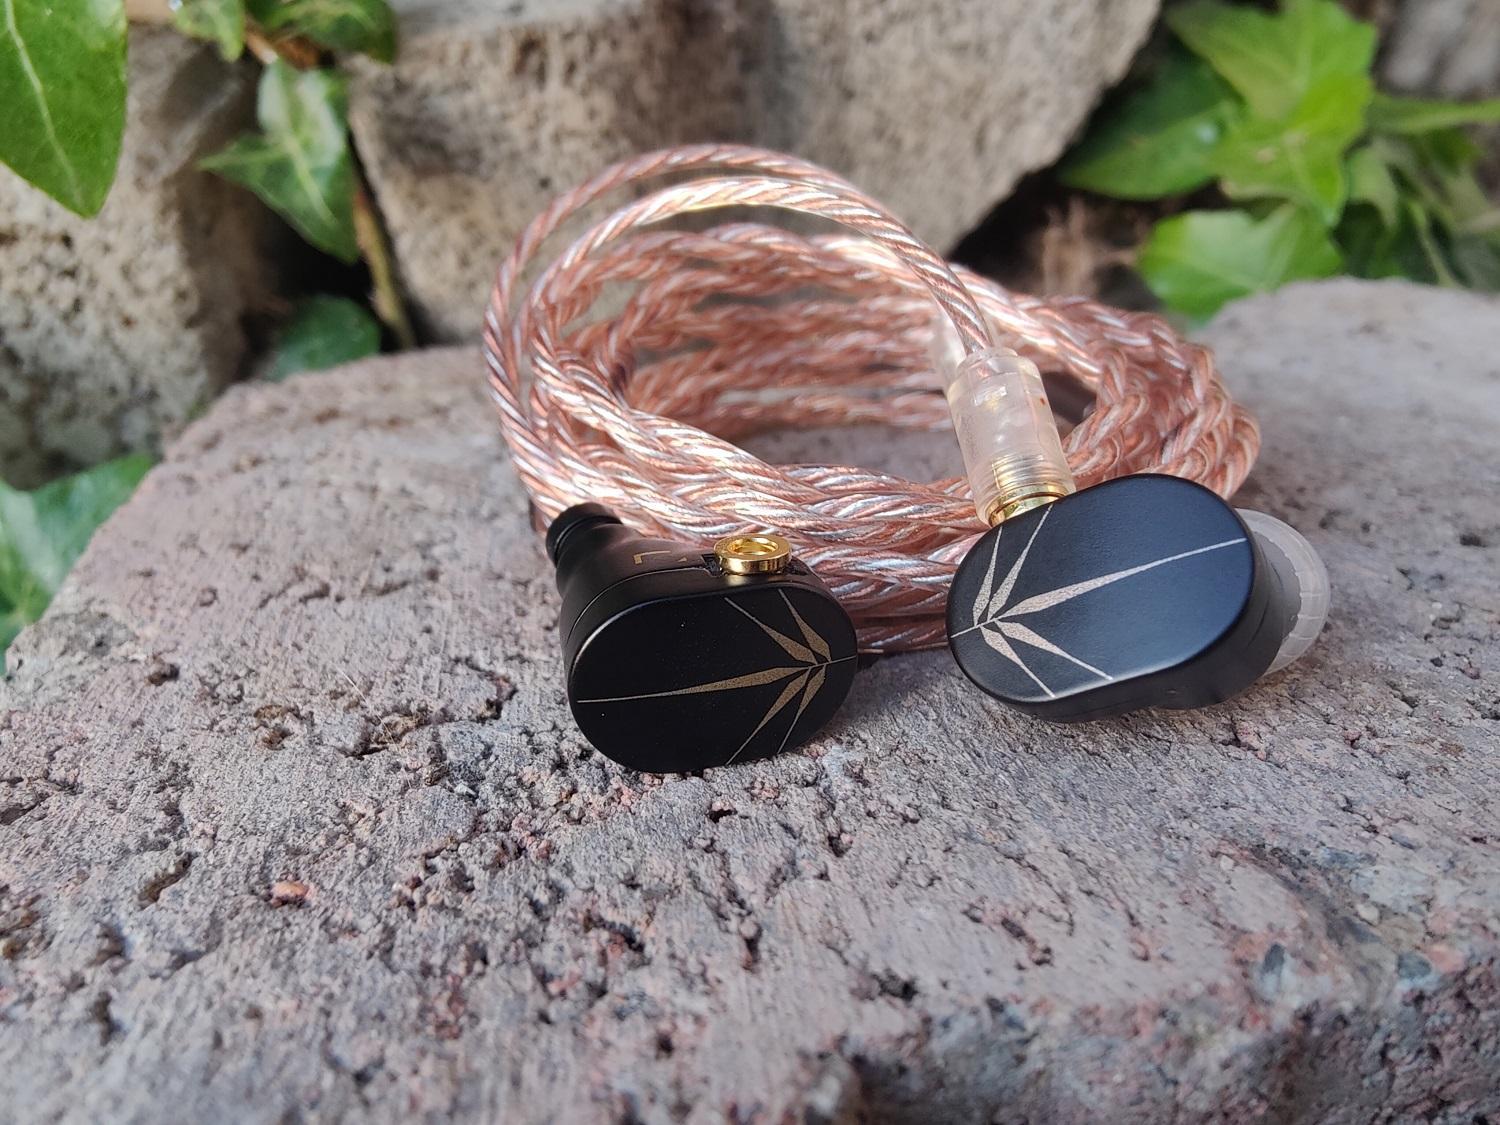
And here is the end result, I think as a first mod not bad at all 🙂
Some readers asking where to find the Mmcx connectors that I used, here is the link: AliExpress NSC Audio Store
https://androidbrick.com/moon-chu-review-the-irresistible/

